Author: William M. Peaster
Source: Bankless
Bueno's no-code tool helps NFT creators customize and publish personal NFT avatars.
 Source: bueno.art
What is Bueno?
Bueno provides users with a "seamless NFT creation experience, from minting to minting NFTs, in just a few simple steps. Even with no programming skills, you can use Bueno's art and smart contract tools to launch an experimental avatar NFT very quickly series.
Now, Bueno offers two flagship no-code products at the same time, namely NFT art generator and smart contract deployer .
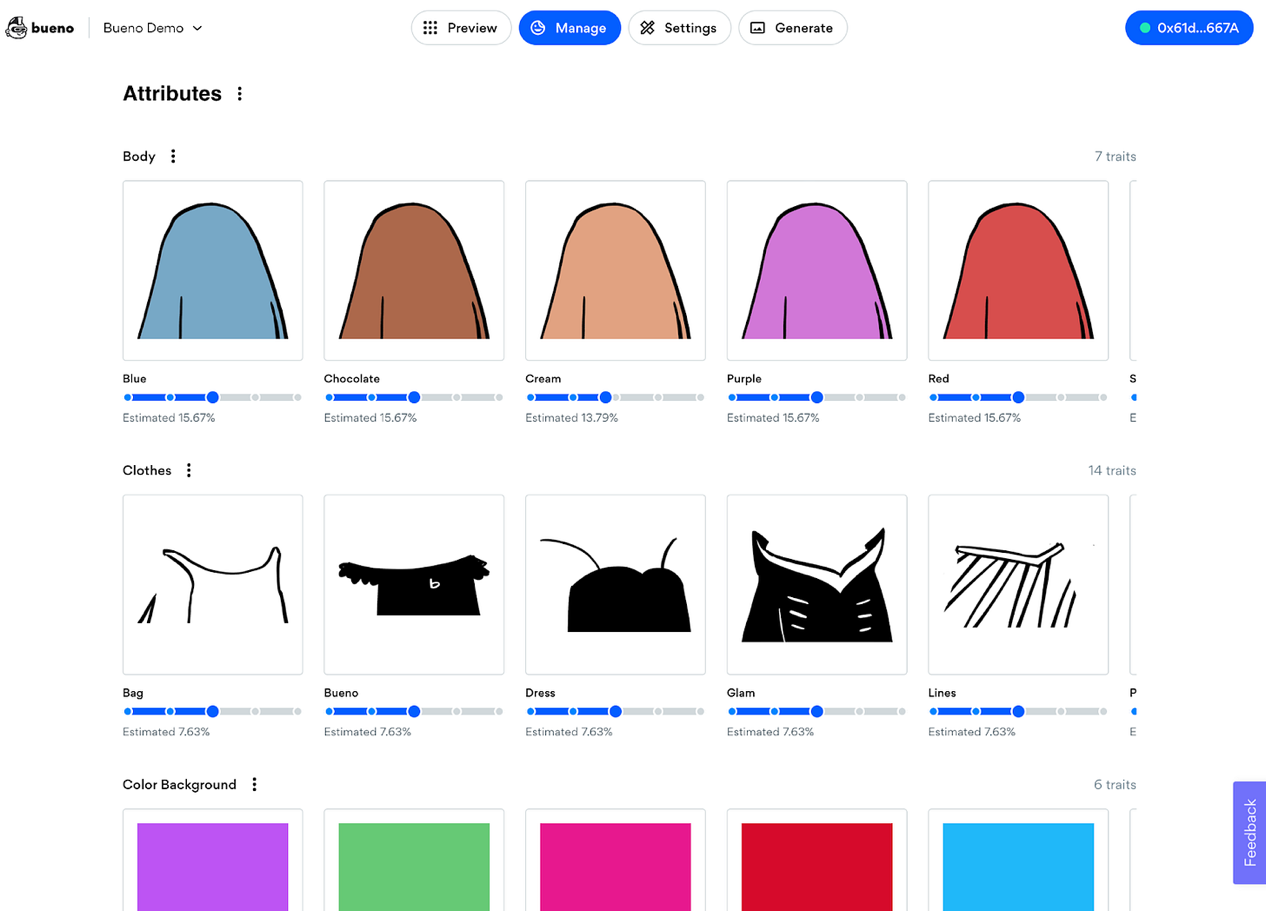
The NFT Art Generator makes it super easy to upload art assets (such as backgrounds, bodies, avatars, etc.), then customize feature combinations and adjust rarity parameters so you can preview and set up your NFT avatar collection.
Note, however, that using the generator will only generate the final visual art for your NFT collection. The export cost of each avatar is 0.0001 ETH, so creating 1000 avatars will cost you 0.1 ETH, 10,000 avatars is 1 ETH, and so on.
Source: bueno.art
To actually publish the generated one as an avatar NFT, you can head over to Bueno’s smart contract deployer, which allows creators to set up a unique ERC721A smart contract for their avatar. Unlike the generator, the deployer can be used for free except for the gas fee. However, Bueno will charge 5% of the income obtained by users through the initial sales of the NFT series released by the deployer.
How to use Bueno
Before starting to use Bueno, you need to prepare the following:
feature asset
Be prepared to pay the ETH fee for the Bueno Art Generator - eg 0.01 ETH for 100 avatars
Some extra ETH is used to pay the gas fee, that is, to deploy the contract
You can acquire feature assets in any way you like, whether by digitally hand-painting them, commissioning an artist to design them, or buying them from the CC0 "No Copyright Reserved" project.
To simplify my testing of Bueno, I used the latest method and downloaded the assets of the tiny dinos (small dinosaurs) NFT project from GitHub.
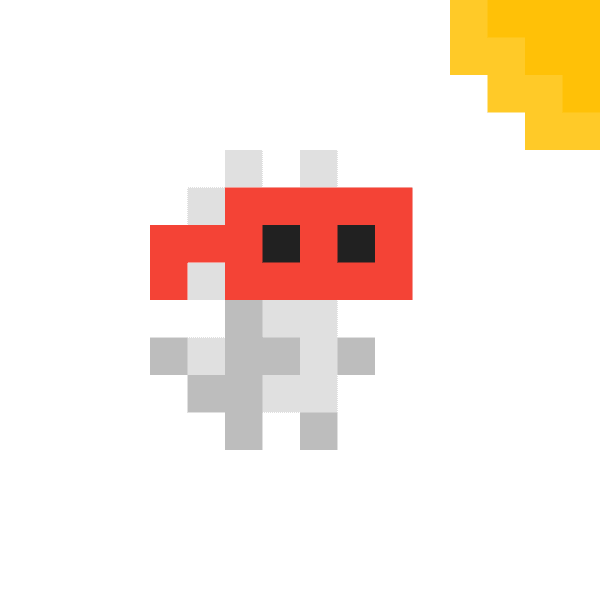
I removed some features, changed others, edited names, and recolored. After that, all I needed to do was upload a folder of jpgs in Bueno. You can easily add and remove features on it without worrying about less than perfect preparation.
How to use Bueno's generator
1) Go to Bueno's generator and connect your wallet
2) Start creating a new avatar series
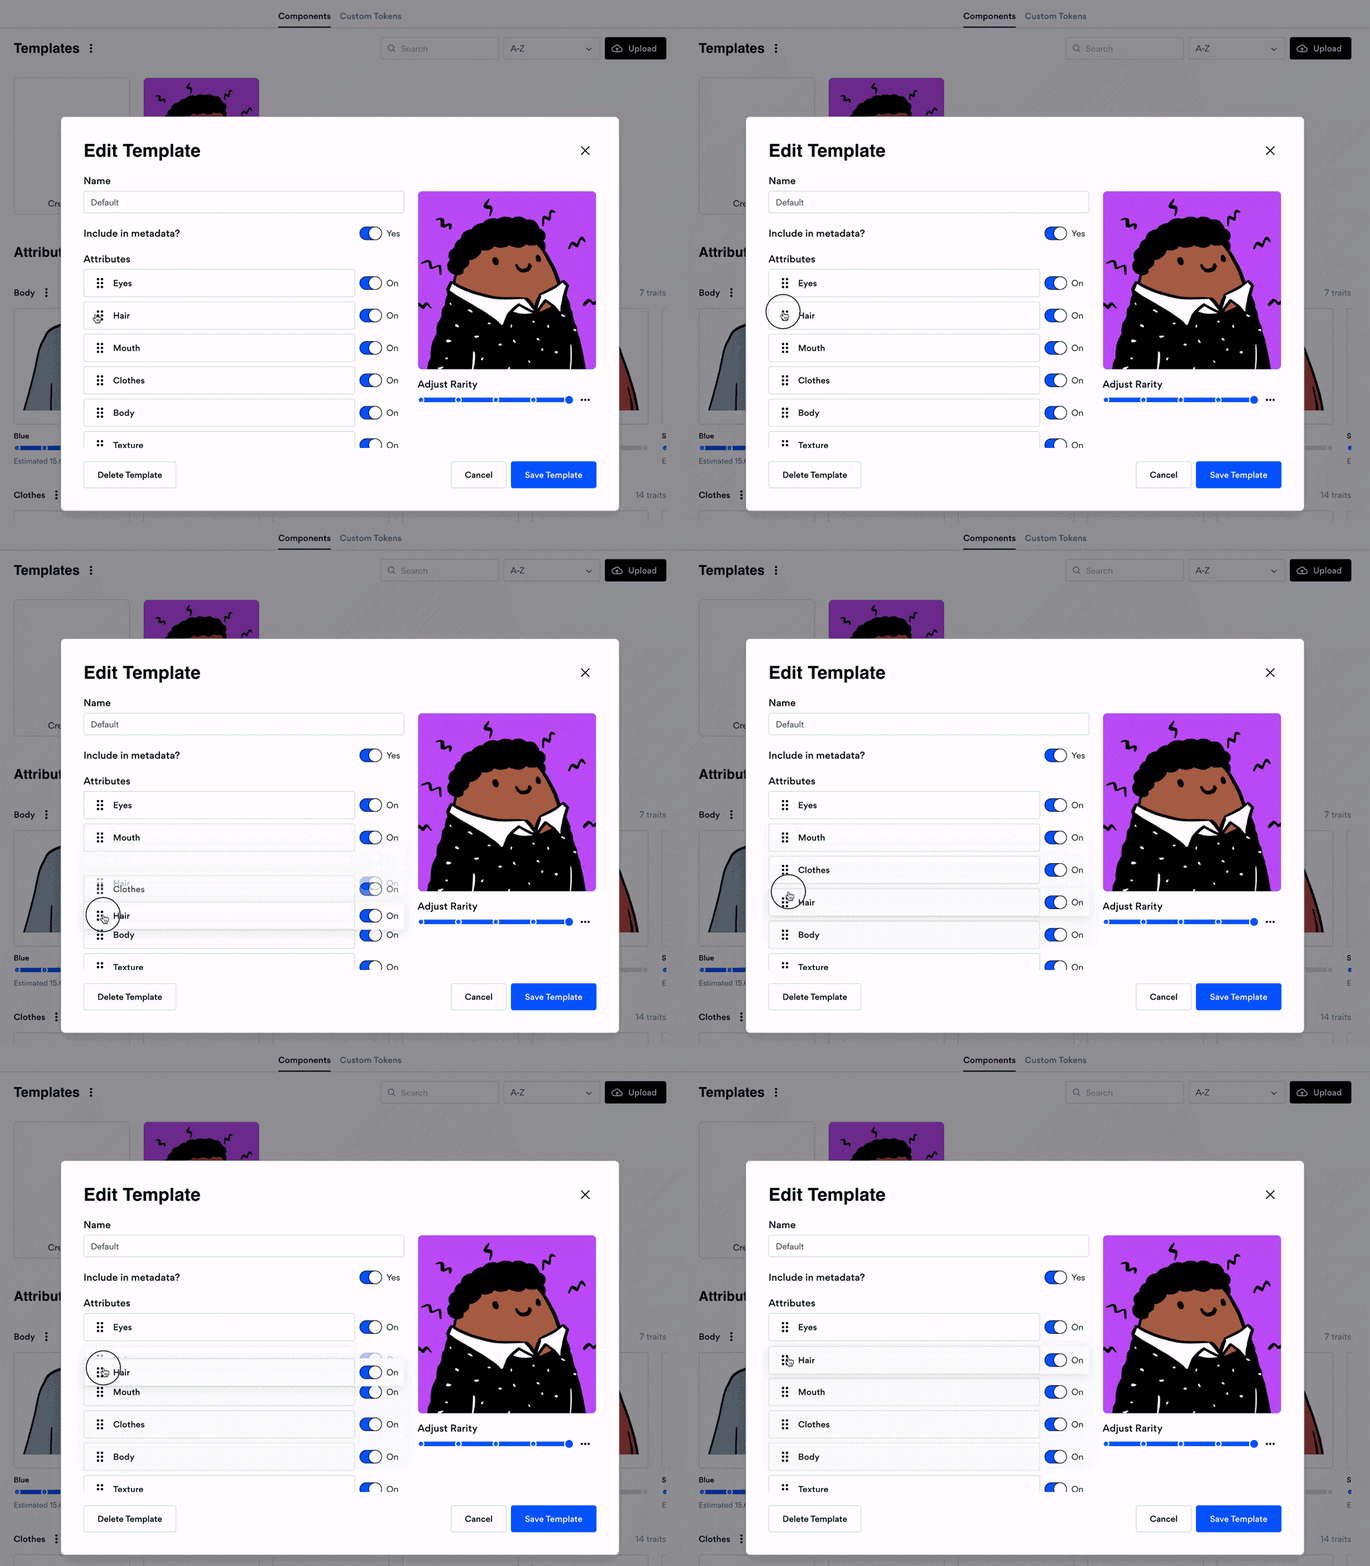
3) Adjust the feature layer of the default template

4) Adjust rules, labels and custom tokens
As you preview and modify your avatar in the generator, you may notice that certain traits don't look good together - correspondingly, in the generator's Admin dashboard, you'll find A rules center where you can add rules to prevent skewed feature combinations
The generator also provides a tagging system that can group specific marker features into specific attributes
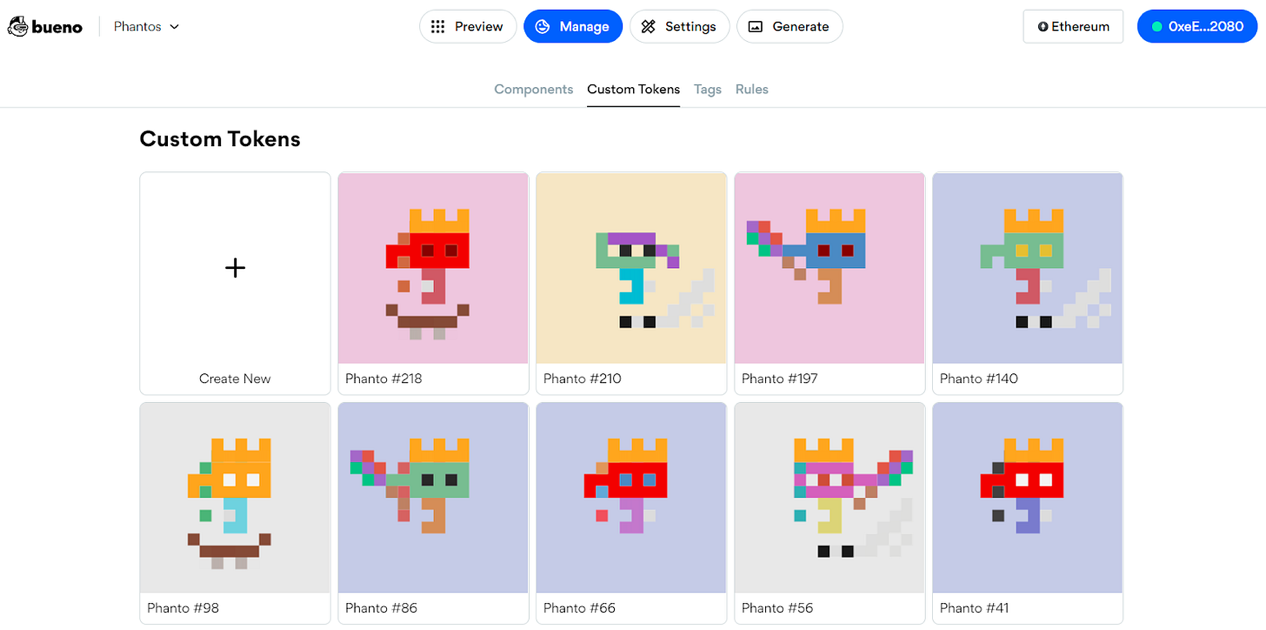
Bueno also lets you preview and then keep custom avatars you think are great, so you can regenerate new previews again and again while keeping your favorite avatars to add to your final collection. You can take a look at my example.
Source: bueno.art
5) Determine the rarity of your avatar
In the Components section of the generator, you can set specific rarity levels for portraits of specific traits across all trait categories - for example, notice below how I use the UI's blue slider to make the "magic sword" in my portrait "(magic sword) is rarer than "open hands" (open hands)
 Source: bueno.art
6) Create your art assets and pay for them
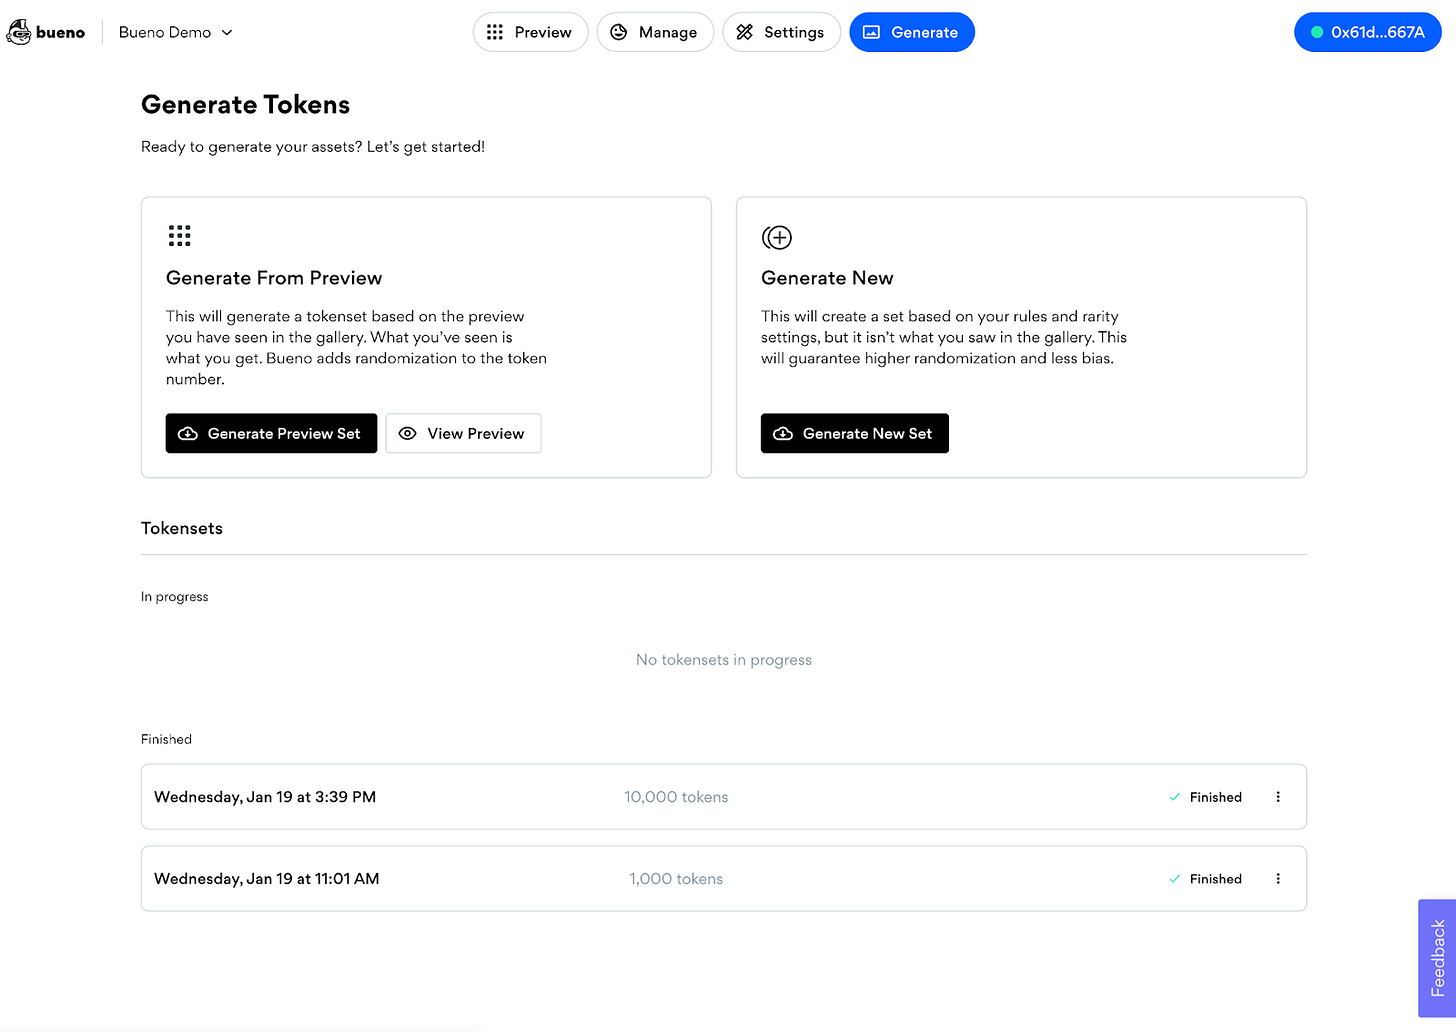
When your NFT avatar is fully ready, you can head to the "Generation" dashboard to create your NFT collection from your existing preview avatars or generate a random new collection based on the parameters you set - then just Pay for the generation of Bueno and you can proceed to the next step
After generating your avatar, Bueno will display an " Upload to IPFS " button which you can use to store the metadata of your NFT collection
Source: bueno.art
How to use Bueno's deployment

Source: bueno.art
1) Go to Bueno's deployer (connect wallet if needed)
After entering the main interface, you will see a "Contract" tab, below which is the "Create New Contract" button, click the latter button to continue.
2) Configure the details of the contract
On the next page, select the network you want (currently supports Ethereum and Polygon)
Enter your contract name and token symbol
Select Art Source (Bueno provides a dropdown menu with art sets you have created through the generator, you will choose from here)
3) Configure your contract quotation information
On the next page, enter your presale and allowlist parameters (if you want) and a public sale price for your collectibles, e.g. 0.01 ETH each. During this process, you have the option to set minting limits per wallet and per transaction
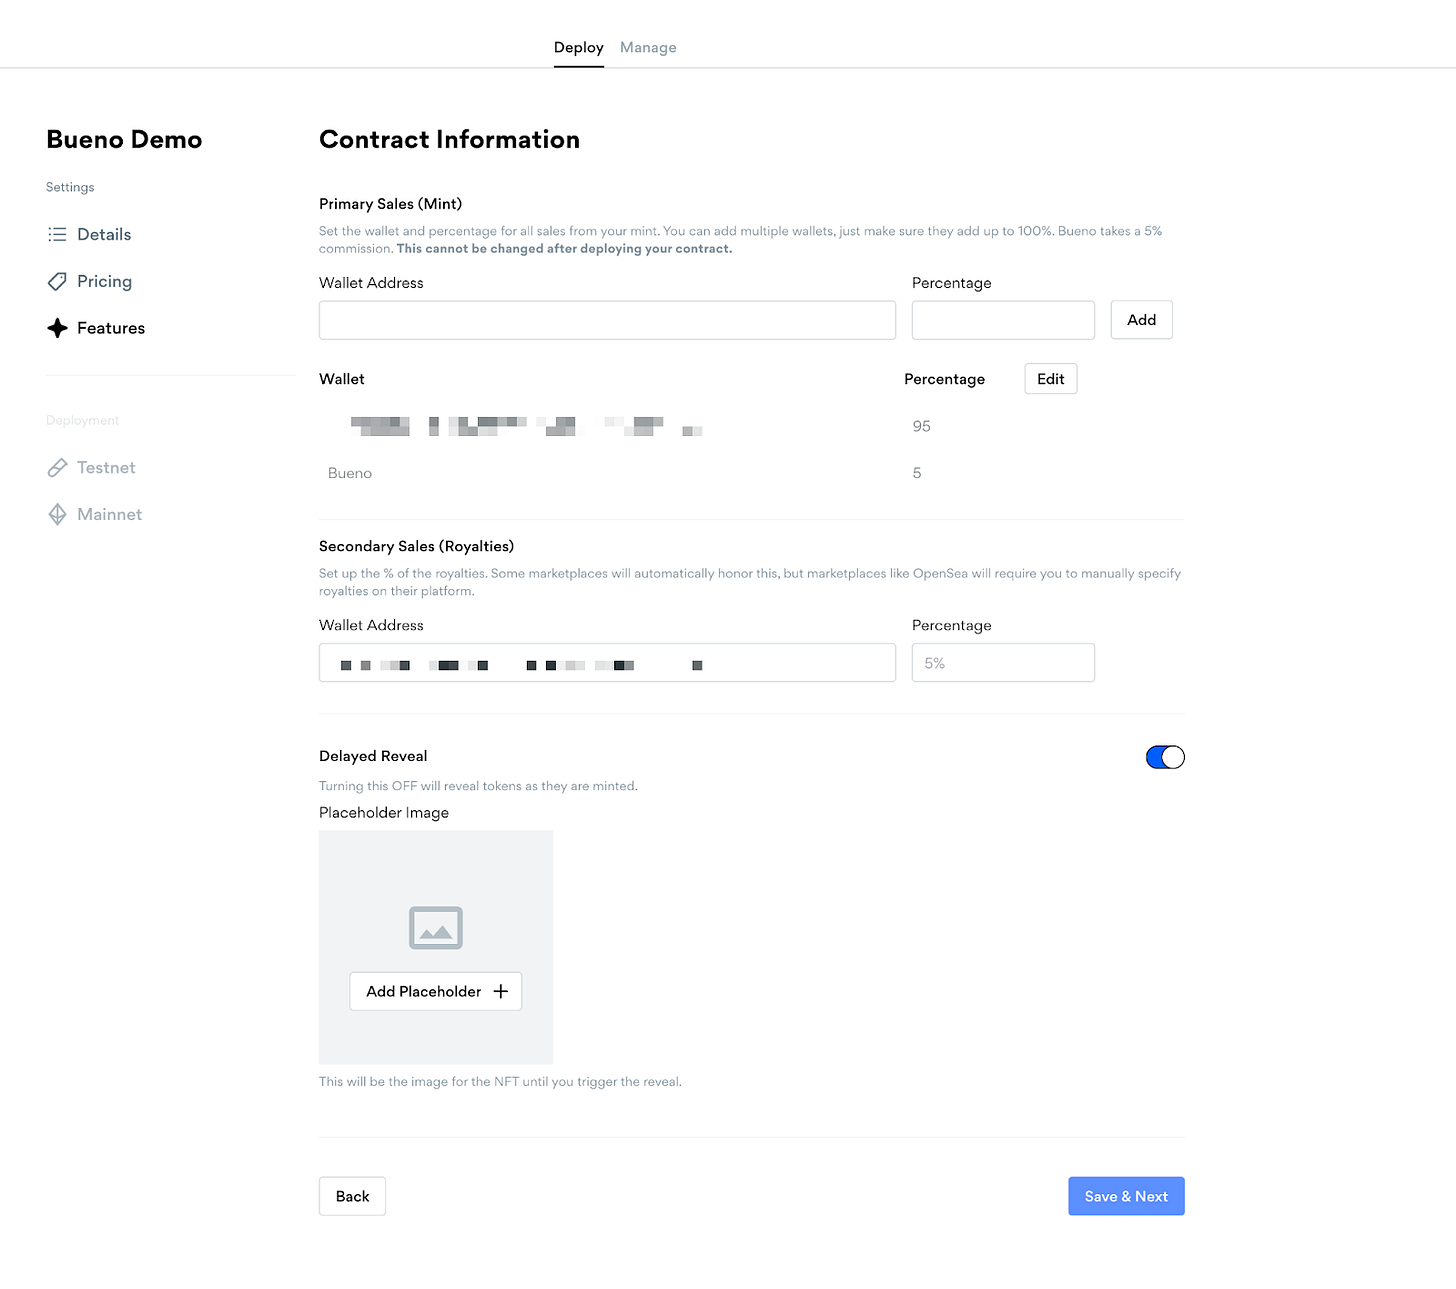
4) Set the final function
Source: bueno.art
5) Complete the deployment contract
To make sure everything goes smoothly, Bueno allows you to first deploy your NFT collection to Rinkeby before transferring to Ethereum or Polygon - then, once you complete your mainnet deployment transaction, your NFT collection will be live on the blockchain to run, so make sure everything is set up the way you want it to be before proceeding with this step
6) Use the "Manage" tab to manage your NFT collection
Once your NFT avatar collection has been deployed, you can use the deployer's dashboard to manage your minting status (pre-sale, end, public sale), embed minting buttons, airdrops, withdraw contracts, etc.
The above is a detailed tutorial on creating avatar NFT works using Bueno. Welcome to try it yourself. For NFT enthusiasts, Bueno is undoubtedly a very practical tool, allowing users who do not understand complex programming techniques to create their favorite NFT as they wish, and even realize their unrestrained imagination.
 JinseFinance
 JinseFinance
 JinseFinance
 Nell
Nell Beincrypto
 Cointelegraph
 Bitcoinist
 Cointelegraph
 Cointelegraph
 Cointelegraph
 Cointelegraph